
Mother’s vanilla cake is a tradition in our family. She had a complicated way of making this scratch cake. Susan decided she would toss the complications out the window. It was a success! Below is the recipe, some photos, and links to a couple of videos that illustrate the two most complicated parts of making the cake (and if not done right, will result in recipe epic fail). Those that bake will say “this is not rocket science.” Well, I don’t bake … so I will have to practice to get it right. UPDATE: I have chronicled all of my attempts at the bottom of the recipe.
Preheat oven to 350 degrees.
Grease the chiffon pan. Put some parchment paper in the bottom of the pan.
Make the cake batter
Mix dry ingredients in large bowl:
- 2 1/4 C cake flour
- 1 1/2 C sugar
- 3 t baking powder
- 1 t salt
Blend the dry ingredients together. Not necessary to sift. Then, make a well in the center. Add each of the following to the well (don’t have to mix these wet ingredients together).
- 1/2 C oil
- 3/4 C water
- 5 extra large egg yolks (save whites and place in a very large bowl)
- 1 t vanilla
Blend with a mixer set on low until the batter is smooth like satin. Set batter aside.
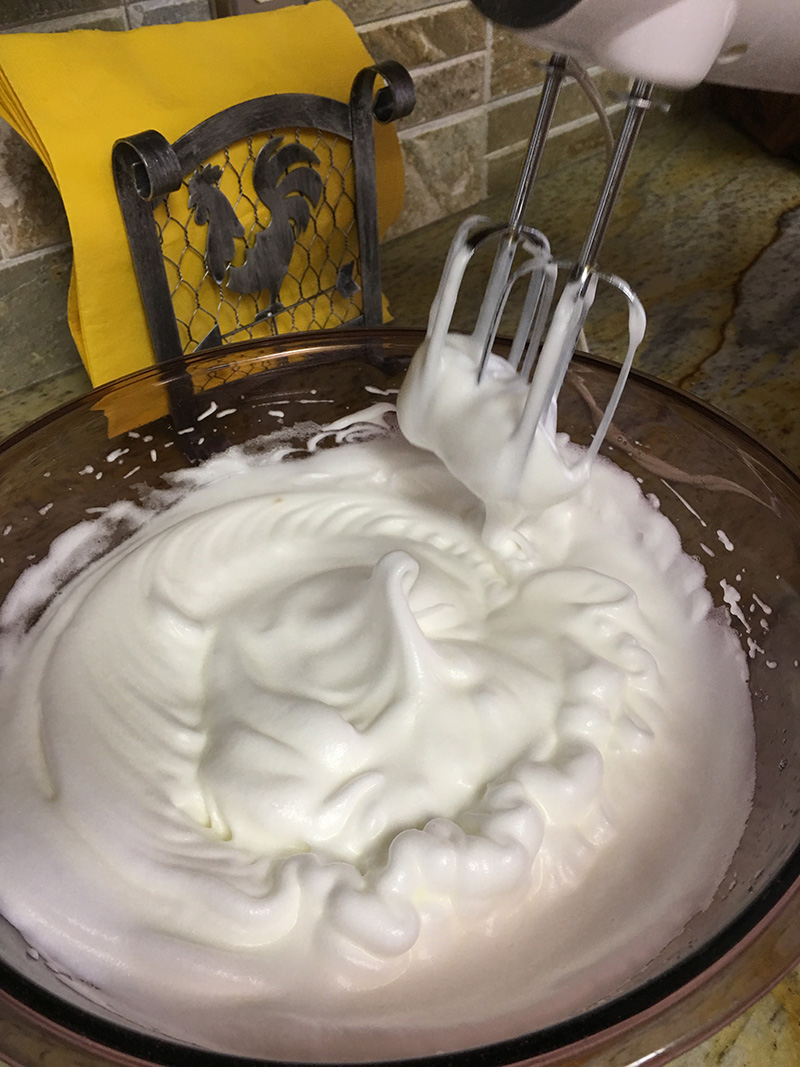
- In the very large bowl with the 5 saved egg whites, place 3 more for a total of 8 egg whites.
- Add 1/2 t cream of tartar
Beat on high until stiff peaks form.
Fold the batter into the egg whites very carefully and do not stir vigorously (see video below).
Pour completed batter into greased chiffon pan.
Bake the cake
Bake for approximately 50 minutes. The top will be quite brown and will have cracked. Most of the moisture in the cracks has to be dried up before it’s done.
While cake is baking, make glaze:
Melt 1 cube of butter in a saucepan
Mix together:
- 2 1/2 T flour
- 1/4 t salt
Add the flour and salt to the butter in the saucepan.
- Add 1/2 C whole milk
Bring to a boil for 1 minute (mixture will separate and look curdled).
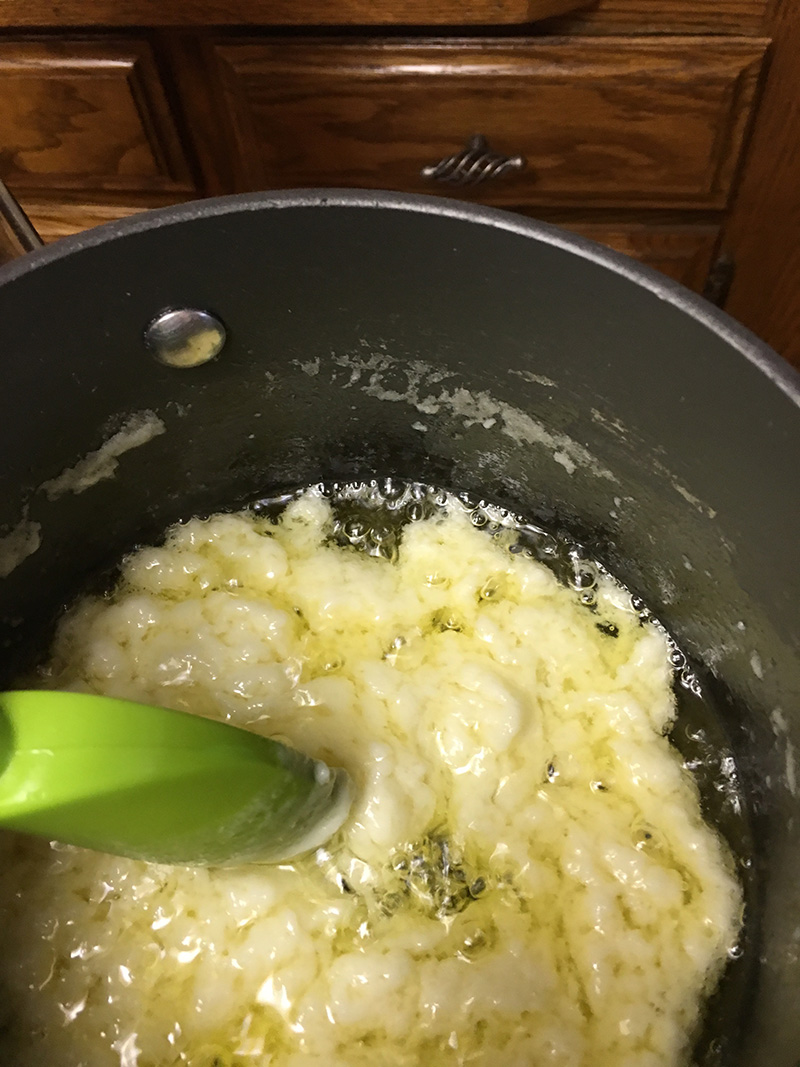
- Remove and add 3 C sifted powdered sugar and 1/2 t vanilla. Mix to blend. It should then look like the video below.
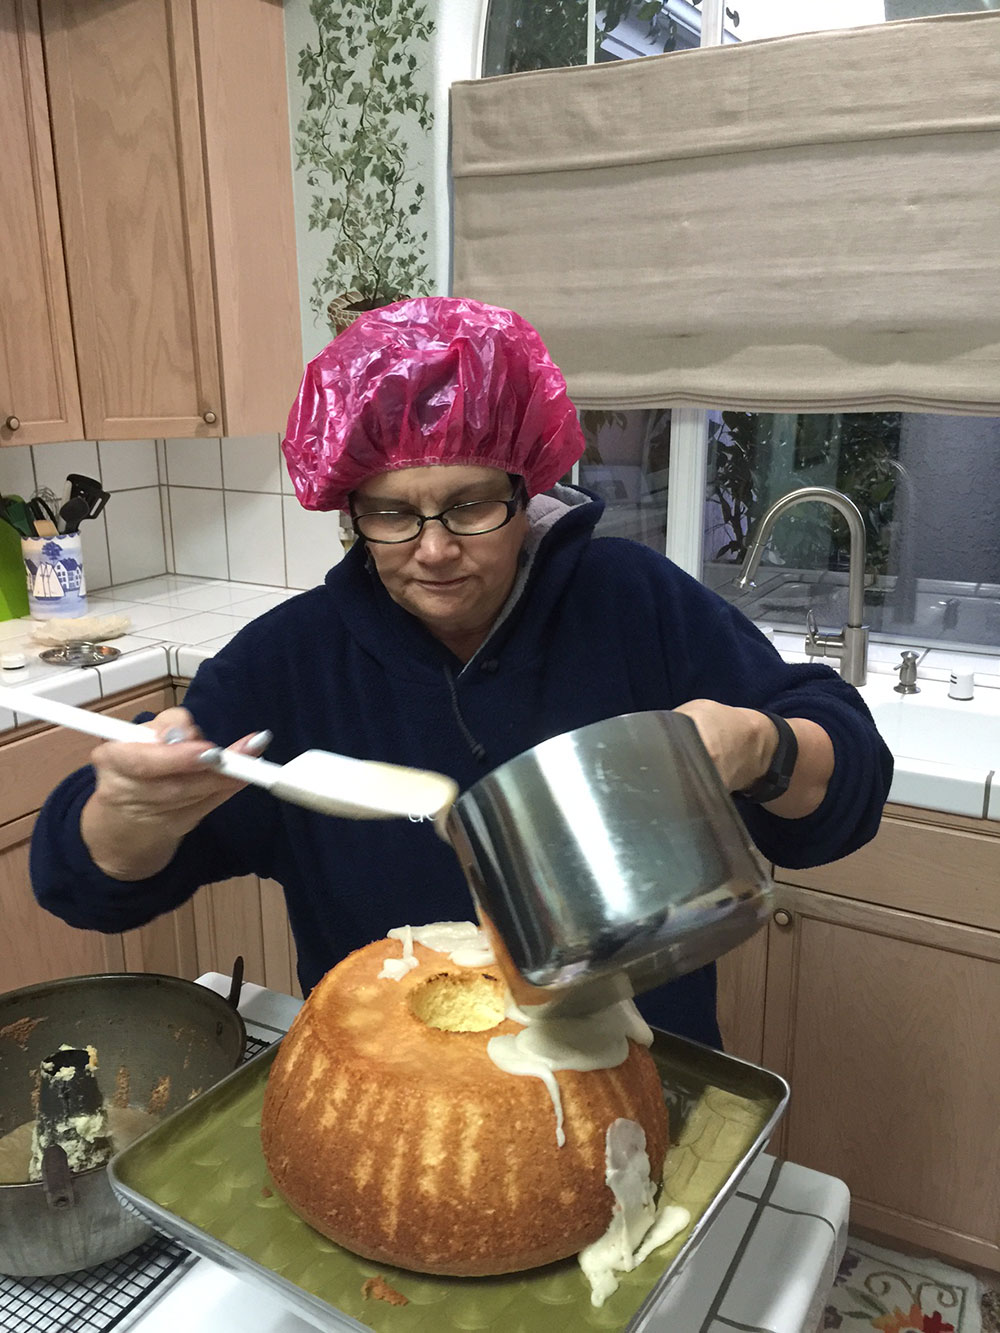
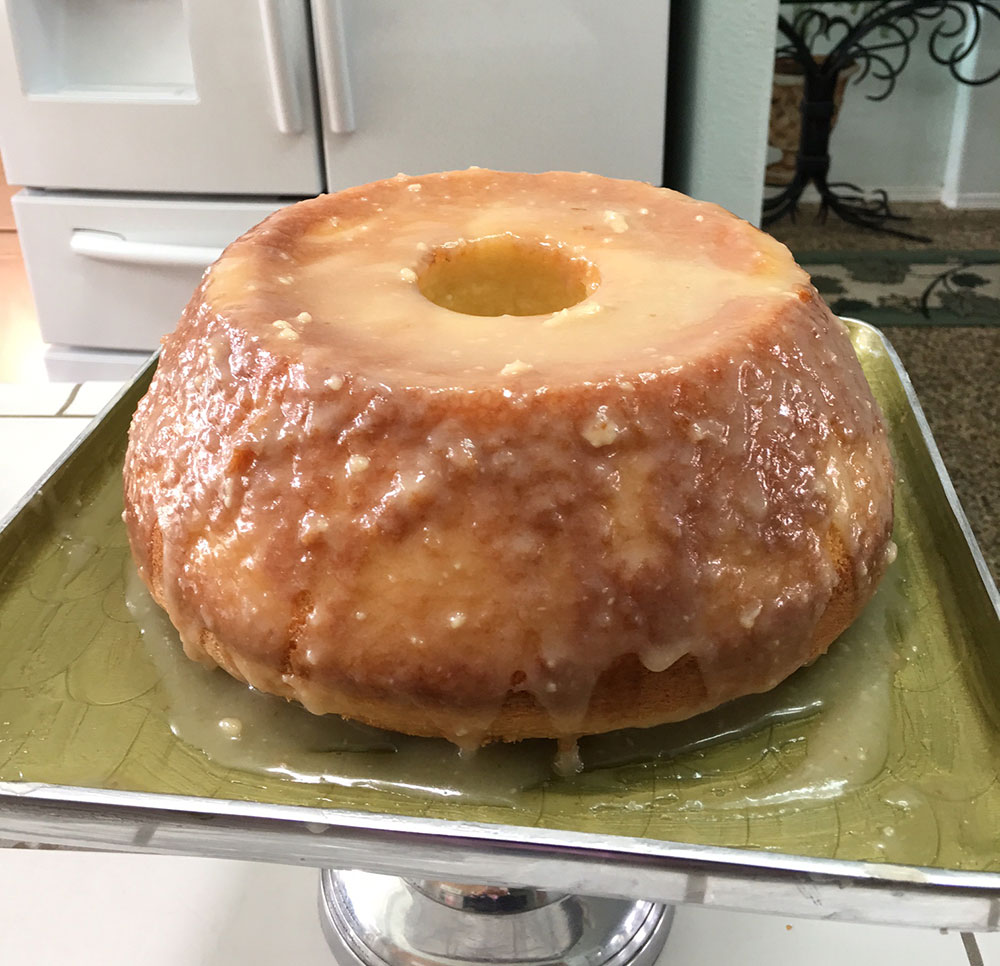
Apply glaze to very warm cake
When cake is done, cool maybe 10 minutes … the pan should be just cooled off enough to touch.
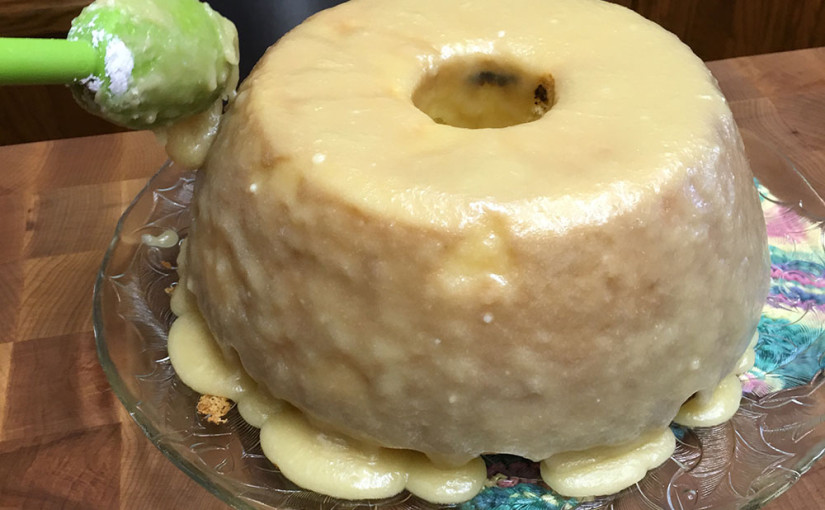
Invert cake over cake plate. If it doesn’t drop down, take a knife and gently run it around the edges. Continue until cake drops into plate.
Gently drizzle (do NOT frost) the glaze over the cake (see video). It should drop down over the sides of the cake. The very warm cake is what will allow this to happen. IMPORTANT: If the cake is not warm enough, the glaze won’t drip down the sides!
I Think I Can Do This Now.
It took four attempts to get this right. That’s right, four. And all because of the stupid glaze.
The First Time ….
I borrowed Mother’s cake pan from Susan. I followed the directions, step by step, to make the cake, and it turned out great. Lynn had gotten extra-large eggs at Walmart, and they separated well and the whites stiffened up as they should (I believe the eggs are key to the success of the cake). However, the glaze … another story. Glop glop. There was a type in the instructions … instead of 1/2 cup milk, I had typed 1/3. Epic fail.
Acquiring My Own Pan
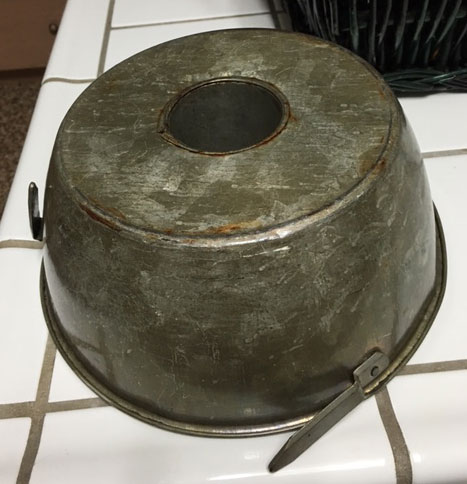
 I knew I couldn’t expect to borrow the cake pan from my sister whenever I made the cake … sooo …. Lynn helped me to find one for sale. We found it on Amazon for 11 bucks … the same pan that my mom had back when I was only 1 year old. Which makes this pan circa 1940’s. It’s a chiffon pan (not a bundt cake pan). I had the same cake results with this new (old) cake pan as I had with Mother’s pan.
The Second Time . . .
Cake turned out even better. It seemed lighter. Used the same eggs. But this time, the glaze was too runny! Really???? I decided it was the fault of the measuring cups. Think I’m afraid of the darn stuff.
The Third Time . . .
I thought: this time, I’m going to get it right! The cake was again perfect. The glaze … again, runny. Why? I made the mistake of getting caught up in texting with my daughter in law and forgot the milk! Big lesson: no interruptions. Ignore the phone. It tasted delicious. No one seems to mind the way it looked.
The Fourth Time . . .
Close to perfect. Still just a bit runny, but I feel good about it now. My goal is to have it look like Susan’s. Lynn got large eggs for me, rather than extra large, so I had to go out at the last minute and get the right eggs. I don’t think they were fresh. The whites didn’t separate very well from the yolks, and I ended up dumping a yolk into my whites (fortunately it didn’t break so I could scoop it out). But our friends ate every bit of it.

Honestly, I don’t think anyone even noticed the way the cakes looked. Some ivy on the bottom and a flower on the top go a long way presentation-wise!
Leave a Reply